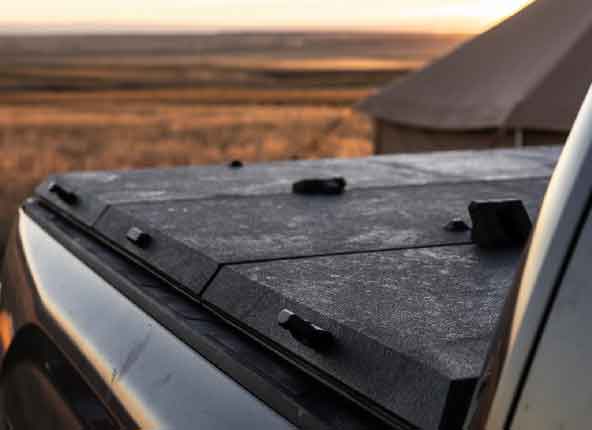


Install Video 8 – Panel and Frame Adjustment
Video Transcript
Next we’ll measure the inside width of the rails on the cab end. Then we’ll take this measurement back to the tailgate. We’ll now make sure the rails at the tailgate end are about the same width. Adjust them if need be. Do not tighten them down. We will do that in a later step. We’ve placed the half-inch jamb nut onto the 4 inch bolt from the install kit and then threaded it on the bottom of the ramp. Placing the black vinyl cap on the back side to protect the truck bed. We’ll use this bolt to adjust the ramp alignment for full bearing contact as the cover closes. While in the truck bed pull the panel’s toward you so you can see how the short bearings line up with the ram. Use the ramp adjustment bolt to move the ramps in or out until the short bearing makes full contact with the ramps. Without the ramp being so far in that it hits the panel. At this point in the installation the rails should be tightened down to the cab mounting clamps only and still loose on the center and tailgate clamps. We’ll pull the cover closed and then use the cover to space the rails. At the tailgate end when pulling the cover back for the first time it’ll be normal for the cover to be stiff. If the cover binds or is extremely hard to pull back stop. Check to make sure that your rails are parallel, centered, and most importantly that they’re level. When pulling the cover closed for the first time, before the gas springs have been installed, the hinge by the cab will not come up all the way. With the bed cover pulled closed we’ll set the distance between the rails of the tailgate end. Using the cover we’ll pull in the rail on each side until it makes contact with the rear roller. Center the rails by measuring the distance from the inside of the truck bed to the inside edge of the rails t-slot. If needed shift the entire frame and panel assembly to center it while ensuring you still have the rear rollers against the inside vertical wall of each side rail. Again we want them just barely touching the inside wall and not hard against it. With the rails centered and parallel at the tailgate end you can now tighten the rails down to the tailgate clamps only. With your rails tightened down to your rear mounting clamps it’s now time to test the operation of your cover. Roll the cover back and forth several times. Your cover should roll smoothly. It will be normal for the cover to be stiff. If your cover binds or requires excessive force that means that your rails are either not centered, parallel, or that they’re not level. If your cover is rolling smoothly now you can tighten your rails down to your center clamps. With your rails tightened down to your center clamps it’s now time to test your operation again. Pull the cover back and forth several times it should still be smooth. If you feel like your cover is binding at your center clamps that means that your center clamps are pulling down on your rails. To correct this loosen the clamp from your truck bed rail lip and then lift it slightly. Then retighten it to your outer bed rail.