


Install Video 5 – Quick Clamp Installation
Video Transcript
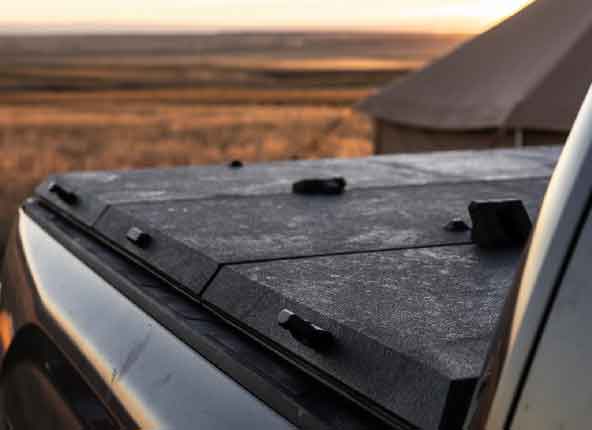
Next, we’re going to show you how to install your mounting brackets. Our most common method relies on our optional quick clamps. If you have a model that requires drilling you’ll want to reference a separate video “mounting and drilling l-brackets”. Your kit will contain six clamps with their hardware, installation instructions and before you start make sure you have a half inch socket, torque wrench if available, and a pair of pliers. We’ll install three clamps on each side of the truck. You’ll want to pay special attention to your clamps as you may have four that are long and two that are short. The long clamps are positioned at the cab and the center of the truck bed. While your shorter clamp is going to be positioned at the rear near the tailgate. If all your clamps are the same length then orientation is not important. The goal is to have the clamps at the cab and tailgate as far to the ends as possible. With the center clamp in between. The exact position is not critical and you can move the clamp to avoid obstructions such as folds in the sheetmetal, plastic clips, or bed lights on some truck models. You may not be able to position the center clamp exactly between the cab and the tailgate clamps as you may have sheet metal folds right in the middle of your truck bed. If you have that, it’s best to move the center clamp towards the tailgate side of that folded machine metal. Slide the clamp up so the top edge of the clamp is flush with the inside edge of your bed rail cap. In very rare occasions you may find that the top edge of the clamp cannot be flush with the top edge of the bed rail cap. If this happens you’ll need to supply quarter-inch washers to make up the difference in the height. Now you’re ready to secure the clamps to the bed the recommended torque is 13 foot pounds or 160 inch pounds. If you don’t have a torque wrench use your half-inch socket. Be careful not to over tighten when tightening the clamps. If they start to rotate in the direction of the socket use a pair of pliers to brace against this rotation and keep the clamp flush with the bed rail. Once the clamp bolts are tightened we’ll adjust the clamps to ensure a level foundation for the bed cover. The angle of the inner rail lip on the inside of the truck bed may vary from one truck to another causing the horizontal legs to not be level. If the horizontal legs are not level the bed cover rails will tilt up or down and not allow the panel assembly to open and close smoothly. This is an important step ensuring the proper installation of your cover so use the pliers to bend the horizontal leg to roughly a 1 degree upward angle. Repeat this process with all the remaining clamps. With all of your clamps securely tightened to the bed and at the recommended 1 degree angle you’re now ready to set your rails on top of your truck bed.