


Install Video 7 – Installing the Panel Assembly
Video Transcript
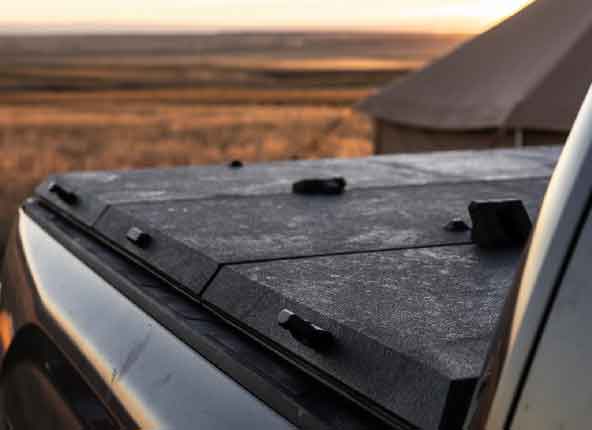
We left the panel assembly in the box but folded down the sides for easier access. Using the hardware from your installation kit we’ll now attach the gas spring brackets. When installing your gas spring brackets make sure that the ball stud points outward. If your panel assembly has two sets of mounting holes refer to your installation manual for which set to use. You will also want to reference your manual for which side of the panel the gas spring bracket should be on. For wrench access tighten the lower screw in that first and then insert the upper screw and nut. The final step in preparing your panel assembly is inserting the rubber bumpers into every other panel. With your panel bumpers installed now remove the protective packaging from between your panels and remove your key from the underside of your locking panel. We also recommend wrapping your pull strap around your panel assembly several times which will make it easier to carry. To orient the panels for assembly into the rails make sure that the lock is facing the cab and the long bearing mounts are up. With the panel’s at an angle insert the long bearing mounts on the driver side rail first. Then swing the long bearing mounts on the passenger side in the rail. With the panels at an angle insert the pin on the driver side into the bracket in the front corner of the frame. Now we’ll swing the passenger side of the panels forward so that the front pin snaps into the front release clip in the front corner.